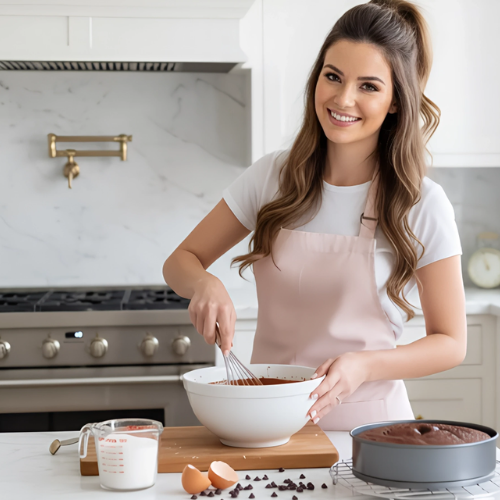
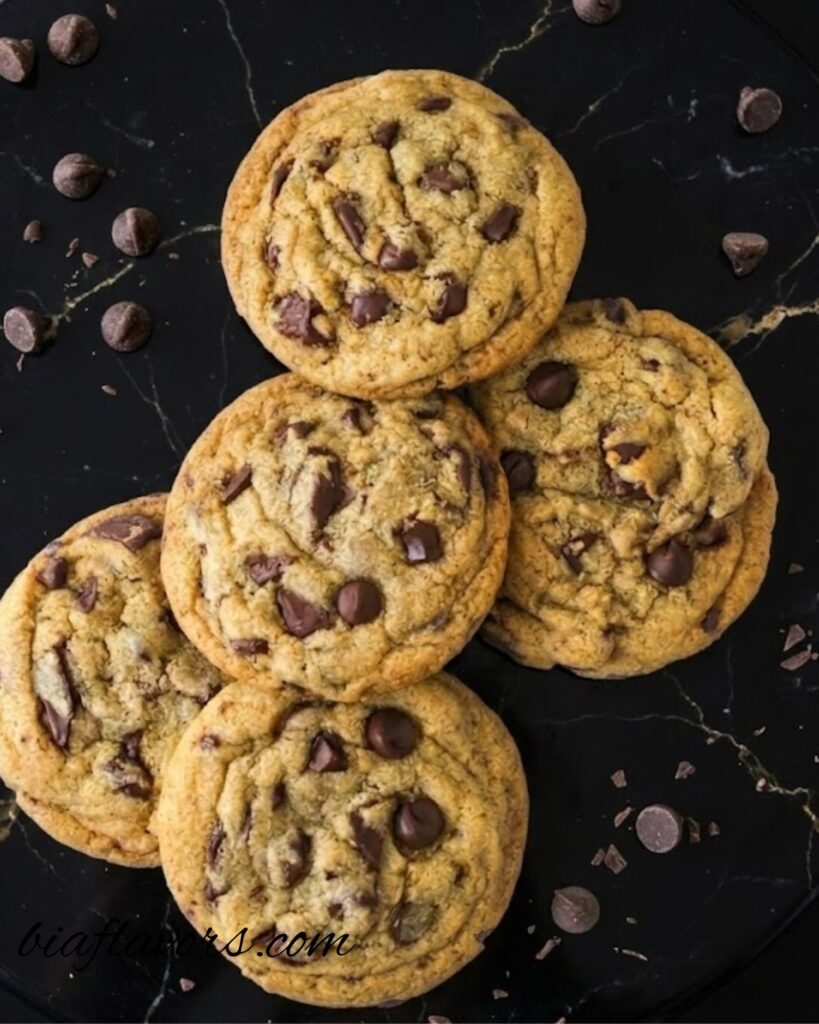
If you love cookies that are soft, chewy, and packed with rich flavor, these brown butter chocolate chip cookies are something you’ll likely keep coming back to. Honestly, the first time I tried making brown butter in cookies, I was surprised at how much depth it added. It completely transforms a simple cookie into something more special. That’s why I use this step whenever I want that bakery-style taste at home.
The texture is what makes these cookies stand out the most. You get slightly crisp edges with a soft, chewy center and melty chocolate in every bite. Trust me, once you try them, you’ll notice that nutty flavor from the brown butter, and it’s exactly what makes this recipe feel a little more indulgent than your usual chocolate chip cookies.

Why We Love This Recipe
Honestly, what makes these cookies so special is the deep, nutty flavor from the brown butter combined with rich chocolate in every bite. They have that perfect balance of crispy edges and a soft, chewy center, which is exactly what makes a cookie truly satisfying. The dough also benefits from chilling, which enhances the flavor and gives a better texture once baked. That’s why I keep coming back to this recipe whenever I want something that feels a little more indulgent yet still simple to make at home.
Another thing I really like is how these cookies feel like bakery-style treats without requiring complicated steps. Trust me, once you get used to browning the butter, it becomes an easy habit that adds so much flavor. These cookies also stay soft for days, so you can enjoy them over time without losing that fresh, just-baked taste.
Ingredients You’ll Need For Brown Butter Chocolate Chip Cookies
- Unsalted butter – the key ingredient that, when browned, adds a rich, nutty flavor
- All-purpose flour – gives structure and helps create the perfect chewy texture
- Baking soda – helps the cookies spread and gives a light lift
- Salt – balances sweetness and enhances overall flavor
- Light brown sugar – adds moisture and a deeper, caramel-like taste
- Sugar – helps with spread and gives slight crispness to the edges
- Eggs – bind everything together and add richness to the dough
- Vanilla extract – enhances the flavor and adds warmth to the cookies
- Semi-sweet chocolate – melts into chunks for rich, chocolatey bites
- Chocolate chips – add extra chocolate in every bite and improve texture
How to Make Brown Butter Chocolate Chip Cookies
1. Brown the Butter
Let’s start with the most important step browning the butter. Add the butter to a light-colored pan and melt it over medium-low heat. Keep stirring continuously so it cooks evenly. As it heats, it will start to foam, and then you’ll notice golden-brown bits forming at the bottom. That’s where the rich, nutty flavor comes from. Honestly, don’t walk away during this step because it can burn quickly. Once it turns a deep golden color and smells fragrant, remove it from heat and pour it into a bowl to cool slightly.
2. Prepare the Dry Ingredients
In a medium bowl, mix the flour, baking soda, and salt. This ensures everything is evenly distributed, so your cookies bake consistently with the right texture.
3. Mix the Wet Ingredients
In a large bowl, combine the browned butter (slightly cooled), brown sugar, sugar, eggs, and vanilla extract. Whisk everything together until the mixture is smooth and well combined. This step helps build that rich base for the cookies.
4. Combine Wet and Dry Mixtures
Now add the dry ingredients into the wet mixture and gently mix until just combined. Trust me, don’t overmix here keeping it gentle helps maintain that soft and chewy texture we want.
5. Add Chocolate
Fold in the chopped chocolate and chocolate chips. This step makes every bite rich and chocolatey. You can mix by hand to avoid breaking the chocolate pieces too much.
6. Shape and Chill the Dough
Scoop the dough into about 2-tablespoon-sized portions and shape them into balls. For best results, keep them slightly tall rather than flat. Now cover and refrigerate the dough for at least 3 hours, or even overnight. Honestly, this step is key it helps the flavors develop and gives you thicker, chewier cookies.
7. Bake the Cookies
Preheat your oven to 350°F (180°C) and line a baking tray. Place the chilled dough balls on the tray, leaving space between them because they will spread while baking. Bake for 9–12 minutes, or until the centers look just set. Don’t overbake the cookies will continue to set as they cool.
8. Cool and Serve
Let the cookies cool on the baking tray for a few minutes before transferring them to a rack. This helps them set properly without breaking. Once cooled, enjoy them warm or store them for later trust me, they stay soft and delicious for days.
Expert Tips For The Perfect Brown Butter Chocolate Chip Cookies
Don’t Skip Browning the Butter
Honestly, this step is what gives these cookies their deep, nutty flavor. Take your time while browning the butter and keep stirring so it doesn’t burn. Once you get that rich aroma and golden color, you’ll know it’s ready.
Chill the Dough Properly
Trust me, chilling the dough is one of the most important steps. It helps the flavors develop and prevents the cookies from spreading too much. The longer you chill (even overnight), the better the texture will be.
Measure Flour Correctly
Use the spoon-and-level method or a scale if possible. Adding too much flour can make the cookies dry, and we want them soft and chewy, not dense.
Don’t Overmix the Dough
Once you add the dry ingredients, mix just until combined. Overmixing can make the cookies tough, and that’s something we want to avoid.
Use Good Quality Chocolate
Honestly, the chocolate makes a big difference here. Using a mix of chopped chocolate and chocolate chips gives you that perfect melty texture in every bite.
Slightly Underbake for Soft Cookies
Take the cookies out when the centers still look slightly soft. They will continue to bake on the tray as they cool, giving you that perfect chewy center.
Fun Ways to Customize These Cookies
Try Different Chocolate
If you want to switch things up, you can use dark chocolate, milk chocolate, or even white chocolate. Honestly, mixing different types of chocolate can give you a richer and more interesting flavor in every bite.
Add Nuts for Crunch
You can fold in chopped walnuts, pecans, or almonds. They add a nice crunch and balance the soft, chewy texture of the cookies. Trust me, this small addition can really elevate the recipe.
Add a Flavor Twist
For a slight variation, you can add a pinch of cinnamon or even a little espresso powder. It doesn’t overpower the cookies but enhances the overall flavor in a subtle way.
Make Them Extra Chocolatey
If you love chocolate, you can increase the amount of chocolate chips or add chunks of chocolate on top before baking. That way, you’ll get those melty pockets in every bite.
Use Different Sugars
You can replace part of the brown sugar with dark brown sugar for a deeper caramel flavor. It makes the cookies a bit richer, which is perfect if you enjoy a stronger taste.
Make Them Gluten-Free
If needed, you can use a gluten-free all-purpose flour blend. Just make sure it’s a 1:1 substitute so the texture stays as close as possible to the original recipe.
Storage Tips
Room Temperature Storage
Once the cookies are completely cooled, store them in an airtight container at room temperature. Honestly, this keeps them soft and chewy for about 3–4 days, and they taste just as good the next day.
Keep Them Soft
If you want to maintain that soft texture, you can add a slice of bread inside the container. Trust me, the cookies will absorb the moisture from the bread and stay softer for longer.
Refrigeration
You can store the cookies in the refrigerator if you want them to last a bit longer. Just make sure they’re in a sealed container so they don’t dry out, and bring them to room temperature before eating for the best taste.
Freezing Cookies
These cookies freeze really well. You can freeze baked cookies in an airtight container for up to 2 months. That’s why I love making a big batch and saving some for later.
Freezing Cookie Dough
You can also freeze the cookie dough balls before baking. Just place them on a tray to freeze, then transfer to a bag. Bake directly from frozen, adding a couple of extra minutes to the baking time. Honestly, this is perfect when you want fresh cookies anytime without extra effort.
Try More Cookies Recipes
FAQs bout These Cookies
Why do we brown the butter for this recipe?
Brown butter adds a deep, nutty flavor that makes these cookies more rich and flavorful compared to regular chocolate chip cookies. Honestly, it’s a small step that makes a big difference in taste and gives that bakery-style quality.
Can I skip chilling the dough?
You can, but I don’t recommend it. Trust me, chilling the dough helps the flavors develop and also prevents the cookies from spreading too much. Without chilling, your cookies may turn out thinner and less chewy.
Why did my cookies spread too much?
This can happen if the dough wasn’t chilled enough or if there was too much butter or not enough flour. Also, warm dough spreads more, so chilling helps keep the shape. That’s why proper measuring and chilling are important.
Can I use only chocolate chips instead of chopped chocolate?
Yes, you can. However, using a mix of chopped chocolate and chips gives a better texture with melty pockets. Trust me, it makes each bite more interesting and rich.
How do I know when the cookies are done?
The cookies are ready when the edges look set but the center still looks slightly soft. Don’t overbake them because they continue to cook on the baking tray. This is the key to getting soft and chewy cookies.
Final Thoughts
Honestly, these brown butter chocolate chip cookies are the kind of recipe that feels simple but delivers amazing results every time. I’ve made them many times, and trust me, once you get used to browning the butter and chilling the dough, the process becomes easy and almost routine. The final result is always worth it soft, chewy cookies with rich, nutty flavor and melty chocolate in every bite.
What I really like about this recipe is how reliable it is. Whether you’re baking for yourself or sharing with others, these cookies always leave a good impression. That’s why I keep coming back to this recipe whenever I want something comforting, homemade, and a little bit special.
Brown Butter Chocolate Chip Cookies
Ingredients
- 1 1/4 cups 280g unsalted butter
- 2 1/4 cups 293g all-purpose flour
- 1 teaspoon baking soda
- 1/2 teaspoon salt
- 3/4 cup 168g packed light brown sugar
- 1/4 cup 52g sugar
- 2 large eggs
- 2 teaspoons vanilla extract
- 4 ounces 113g semi-sweet chocolate (chopped)
- 1 cup 169g semisweet chocolate chips
Instructions
- Brown the butter in a pan over medium heat, stirring continuously until it turns golden brown and gives a nutty aroma. Once ready, remove it from the heat and let it cool slightly so it doesn’t cook the eggs later.
- In a separate bowl, mix the flour, baking soda, and salt together. This helps evenly distribute everything so your cookies bake with the right texture.
- In a large bowl, whisk the browned butter, brown sugar, sugar, eggs, and vanilla until the mixture becomes smooth and well combined. Honestly, this step creates the base of your cookies, so make sure everything is mixed properly.
- Now add the dry ingredients into the wet mixture and gently mix until just combined. Don’t overmix here—trust me, keeping it light will give you soft and chewy cookies.
- Fold in the chopped chocolate and chocolate chips, making sure they are evenly spread throughout the dough. This ensures every bite has that rich chocolate flavor.
- Scoop the dough into balls and place them on a tray, then refrigerate for at least 3 hours or even overnight. This step is important because it allows the flavors to develop and gives the cookies a better texture when baked.
- Preheat your oven to 350°F (180°C) and line a baking tray with parchment or a silicone mat. This prevents sticking and helps with even baking.
- Place the chilled dough balls on the tray, leaving enough space between them as they will spread while baking. Bake for 9–12 minutes until the edges are set and the center still looks slightly soft.
- Let the cookies cool on the baking tray for a few minutes before transferring them to a wire rack. This helps them set properly and keeps the texture perfect.