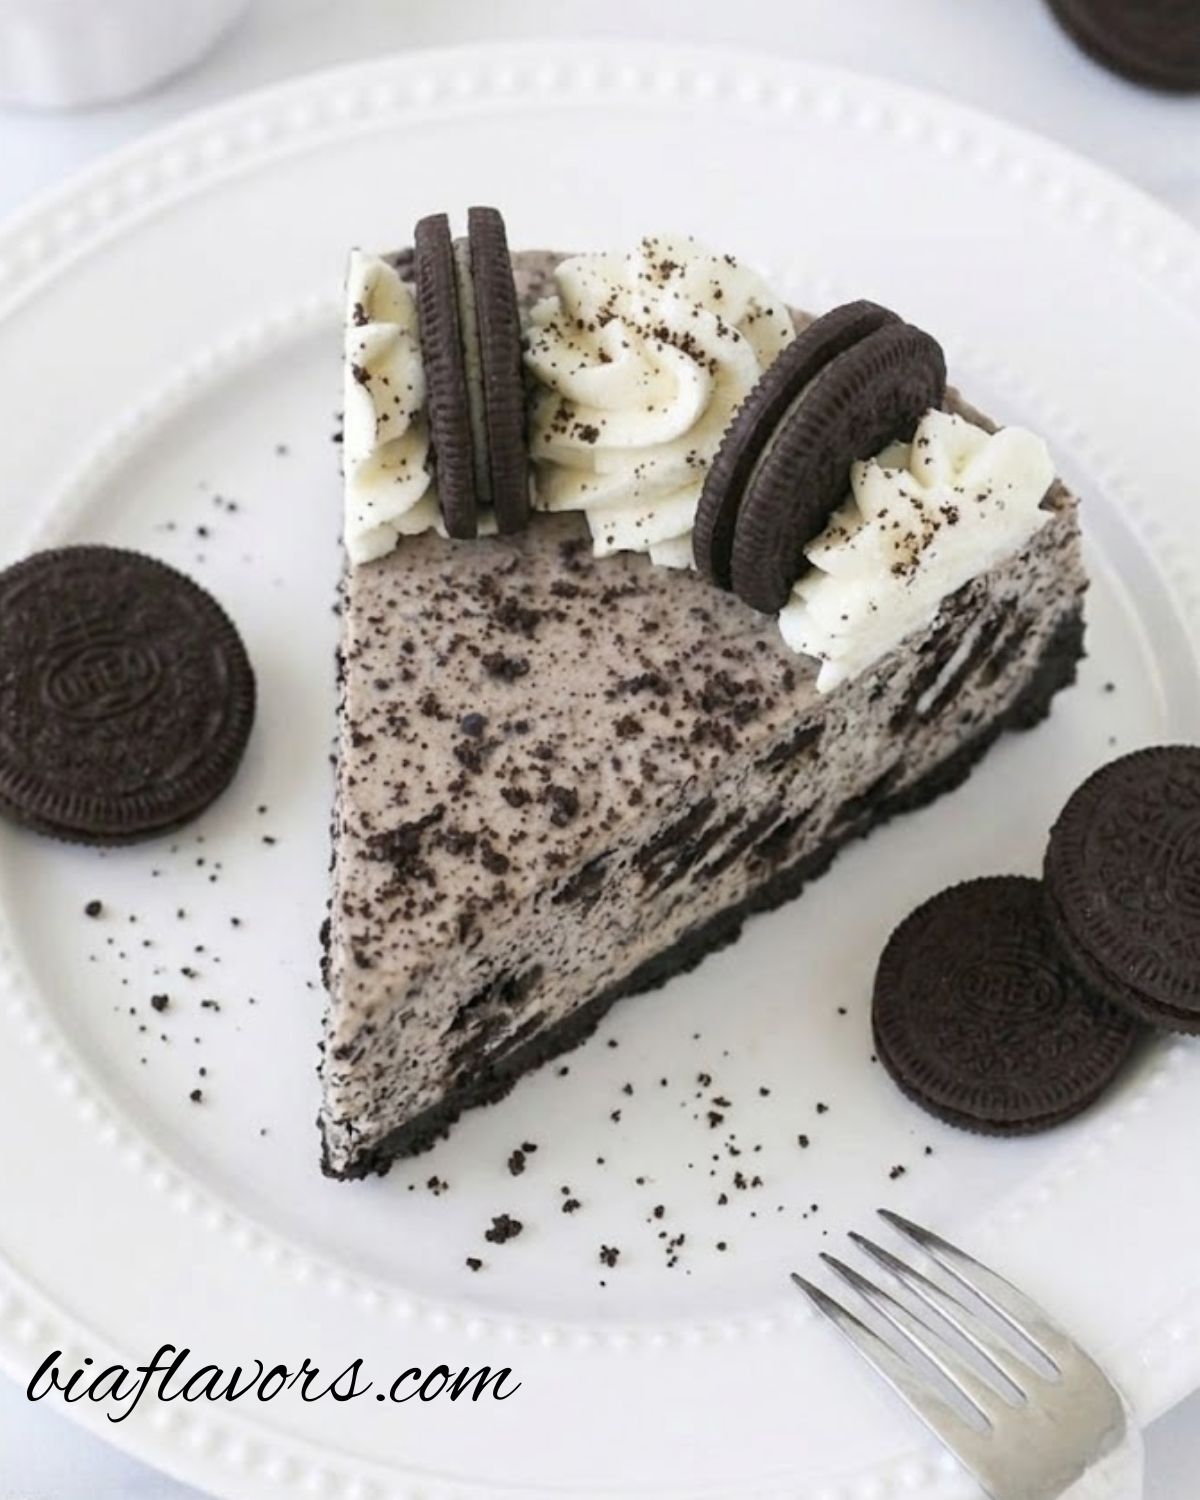
No Bake Chocolate Cheesecake Recipe
Craving something rich, chocolatey, and super satisfying but don’t want to turn on the oven? This No Bake Chocolate Cheesecake Recipe is the perfect solution. It’s incredibly creamy, full of deep chocolate flavor, and comes together with simple ingredients you probably already have at home. Honestly, it’s one of those desserts that looks fancy but is surprisingly easy to make. What makes this cheesecake so special is its smooth, melt-in-your-mouth texture combined with a crunchy Oreo crust. Every bite feels indulgent, yet the process is completely stress-free. Trust me, even if you’re a beginner, you can make this dessert without any hassle and still get bakery-style results. Whether you’re making it for a family gathering, a special occasion, or just a chocolate craving at home, this no bake chocolate cheesecake is always a winning choice. Likely, once you try it, it will become your go-to dessert whenever you want something easy but impressive. Why We Love This Recipe There’s so much to love about this No Bake Chocolate Cheesecake Recipe, but the biggest reason is how simple and stress-free it is. Honestly, you don’t need any baking skills or fancy equipment just mix, layer, and chill. That’s it, and you still get a dessert that looks and tastes like it came from a bakery. What makes it even better is the rich chocolate flavor combined with the smooth, creamy texture. Every bite is perfectly balanced sweet, chocolatey, and melt-in-your-mouth delicious. The Oreo crust adds that satisfying crunch, which makes the whole dessert even more irresistible. Another reason we love this recipe is how versatile and reliable it is. You can easily customize the toppings, adjust the sweetness, or even add extra chocolate for a richer taste. Trust me, once you make it, it becomes one of those desserts you’ll keep coming back to for birthdays, gatherings, or simple sweet cravings at home. Ingredients You’ll Need For No Bake Chocolate Cheesecake Oreo Crust Chocolate Cheesecake Filling Whipped Cream Topping Optional Toppings How to Make No Bake Chocolate Cheesecake For the crust Start by lining a 9-inch springform pan with parchment paper and lightly greasing the sides so the cheesecake releases easily later. In a bowl, combine the Oreo crumbs with melted butter until everything is evenly mixed and the texture looks like wet sand. Press this mixture firmly into the bottom and slightly up the sides of the pan to create a solid base. Once done, place the crust in the fridge while you prepare the filling. For the chocolate cheesecake filling In a large mixing bowl, beat the cream cheese, sugar, and cocoa powder together until the mixture becomes smooth and creamy with no lumps. Then add the melted chocolate and mix again until fully combined. In a separate bowl, whip the cold heavy cream with powdered sugar and vanilla extract until stiff peaks form. Gently fold the whipped cream into the chocolate mixture in two parts, being careful not to deflate the air. Once everything is well combined, pour the filling over the prepared crust and spread it evenly. Chilling time Now comes the most important step chilling. Place the cheesecake in the refrigerator for at least 5–6 hours, or ideally overnight, so it sets properly and develops the perfect firm yet creamy texture. Trust me, this step makes a huge difference in the final result. For the whipped cream topping In a bowl, whip the heavy cream with powdered sugar and vanilla extract until stiff peaks form. Once the cheesecake is fully set, carefully remove it from the pan and transfer it to a serving plate. Pipe or spread the whipped cream on top as desired, and add your favorite toppings like chocolate shavings, mini chocolate chips, or sprinkles for a beautiful finish. ServingSlice the cheesecake with a sharp knife and serve it chilled for the best texture and flavor. Keep any leftovers refrigerated, as this dessert stays fresh and delicious when properly stored. Expert Tips for Perfect No Bake Chocolate Cheesecake Ingredient Variations (Customize Your Cheesecake Your Way) Storage Tips FAQs About This No Bake Chocolate Cheesecake Q: Can I make this No Bake Chocolate Cheesecake without heavy cream?Yes, you can use whipped topping (like Cool Whip) instead of heavy cream. It still works well, but the texture will be slightly lighter and less rich. Honestly, heavy cream gives the best creamy and bakery-style result, so it’s recommended if available. Q: Why is my cheesecake not setting properly?This usually happens if the cheesecake hasn’t chilled long enough or the whipped cream wasn’t beaten to stiff peaks. Trust me, proper chilling is key—refrigerate for at least 5–6 hours, but overnight is best for a firm texture. Q: Can I freeze this cheesecake?Yes, you can freeze it for up to 2–3 months. Wrap it tightly in plastic wrap and then foil to prevent freezer burn. When ready to serve, thaw it slowly in the fridge for a few hours to maintain the creamy texture. Q: How do I get clean slices?Use a sharp knife and dip it in warm water before each cut. Wipe the knife clean after every slice. This simple trick gives you neat, bakery-style slices every time. Q: Can I reduce the sweetness?Yes, you can slightly reduce the sugar, but don’t reduce too much since chocolate and Oreos already balance the flavor. A little sweetness is important for the perfect taste. Q: Can I make this ahead of time?Absolutely! In fact, it’s better when made a day in advance. Overnight chilling allows the flavors to develop and gives a firmer, more stable cheesecake. Final Thoughts This No Bake Chocolate Cheesecake Recipe is one of those desserts that never fails to impress. It’s rich, creamy, and full of deep chocolate flavor, yet incredibly simple to make at home without turning on the oven. Honestly, it’s perfect for beginners as well as experienced bakers who want a quick and reliable dessert. What I love most about this recipe is how consistent and versatile it is. You can