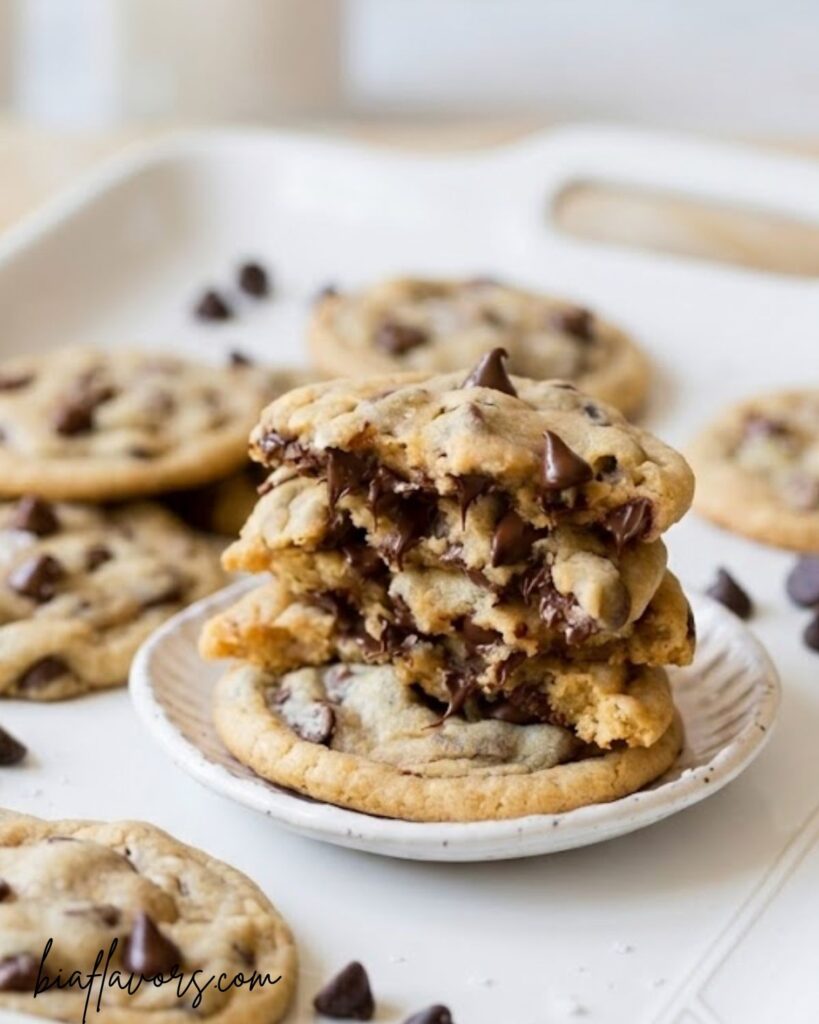
There’s nothing quite like a batch of warm, freshly baked chocolate chip cookies straight from the oven. Soft, chewy in the center, and slightly crispy on the edges, these cookies are a timeless favorite that everyone loves.
This recipe is simple, beginner-friendly, and made with basic ingredients you likely already have in your kitchen. Whether you’re baking for your family, friends, or just treating yourself, these cookies always deliver that comforting homemade taste.
Why You’ll Love These Chocolate Chip Cookies
These chocolate chip cookies are soft, chewy, and packed with rich chocolate in every bite. They have that perfect balance of crispy edges and a soft center, which is exactly what makes them so irresistible. From my experience, this is the kind of recipe that never fails once you try it, it quickly becomes a family favorite.
Another reason to love these cookies is how simple and reliable the recipe is. Even if you’re new to baking, you can follow these steps easily and still get amazing results. I personally love how the dough comes together with basic ingredients, yet the final cookies taste like they came from a bakery.
They’re also perfect for any occasion whether you’re baking for kids, guests, or just craving something sweet with your evening tea or coffee. Fresh out of the oven, warm and gooey, these cookies are pure comfort in every bite.
Ingredients You’ll Need For Chocolate Chip Cookies
- All-purpose flour (2½ cups / 300g)
Provides structure to the cookies and helps them hold their shape while baking. Proper measurement is important to avoid dry cookies. - Baking soda (¾ tsp)
Helps the cookies spread slightly and creates a soft, chewy texture with light crisp edges. - Salt (¾ tsp)
Balances the sweetness and enhances the chocolate flavor in every bite. - Unsalted butter (1 cup, softened / 227g)
Adds richness and gives the cookies their soft and tender texture. Room temperature butter mixes more smoothly and creates a better dough. - Light brown sugar (¾ cup / 165g)
Adds moisture and a deep, caramel-like flavor, which is key for soft and chewy cookies. - Granulated sugar (½ cup / 100g)
Adds sweetness and helps create slightly crisp edges. - Egg (1 large)
Binds the ingredients together and gives structure to the cookies while keeping them soft. - Vanilla extract (1 tbsp)
Enhances the overall flavor and gives the cookies a warm, bakery-style aroma. - Semisweet chocolate chips (1½ cups / 270g)
The main highlight of the cookies, adding rich chocolate flavor and gooey texture in every bite.
How to Make Chocolate Chip Cookies (Step-by-Step Guide)
Step 1: Preheat The Oven
Start by preheating your oven to 350°F (175°C) so it’s fully ready when your cookies go in. Line your baking trays with parchment paper or a silicone mat. This small step ensures your cookies don’t stick and bake evenly from the bottom.
Step 2: Mix the Dry Ingredients
In a bowl, whisk together the flour, baking soda, and salt. This step helps distribute everything evenly so you don’t get uneven flavors or baking spots in your cookies.
Step 3: Cream Butter and Sugars
In a large bowl, beat the softened butter, brown sugar, and granulated sugar together until the mixture becomes light, fluffy, and slightly pale. This usually takes about 4–5 minutes, but don’t rush this step.
This is the heart of the recipe. When you cream the butter and sugar properly, you’re actually adding air into the dough, which gives you those soft, bakery-style cookies with perfect texture.
Step 4: Add Egg and Vanilla
Now add the egg and vanilla extract and mix until everything is fully combined. Make sure to scrape down the sides of the bowl so no ingredients are left unmixed.
Step 5: Combine Wet and Dry Ingredients
Slowly add the dry ingredients into the wet mixture. Mix on low speed just until the dough comes together.
Step 6: Fold in the Chocolate Chips
Gently stir in the chocolate chips until evenly spread throughout the dough. If you love extra gooey cookies as I do, save a few chocolate chips and press them on top of the dough balls before baking it gives that bakery-style look.
Step 7: Scoop the Dough Evenly
Use a cookie scoop or spoon to form equal-sized dough balls and place them on your prepared tray. Leave enough space between each one because they will spread while baking. Even-sized cookies bake at the same rate, so you don’t end up with some underbaked and some overbaked cookies.
Step 8: Chill the Dough (Highly Recommended)
If you have time, chill the dough for at least 1 hour. This helps control spreading and improves the flavor and texture of the cookies.
From my experience, chilled dough always gives thicker, softer, and more flavorful cookies. If you skip this step, your cookies may spread more and become thinner.
Step 9: Bake to Perfection
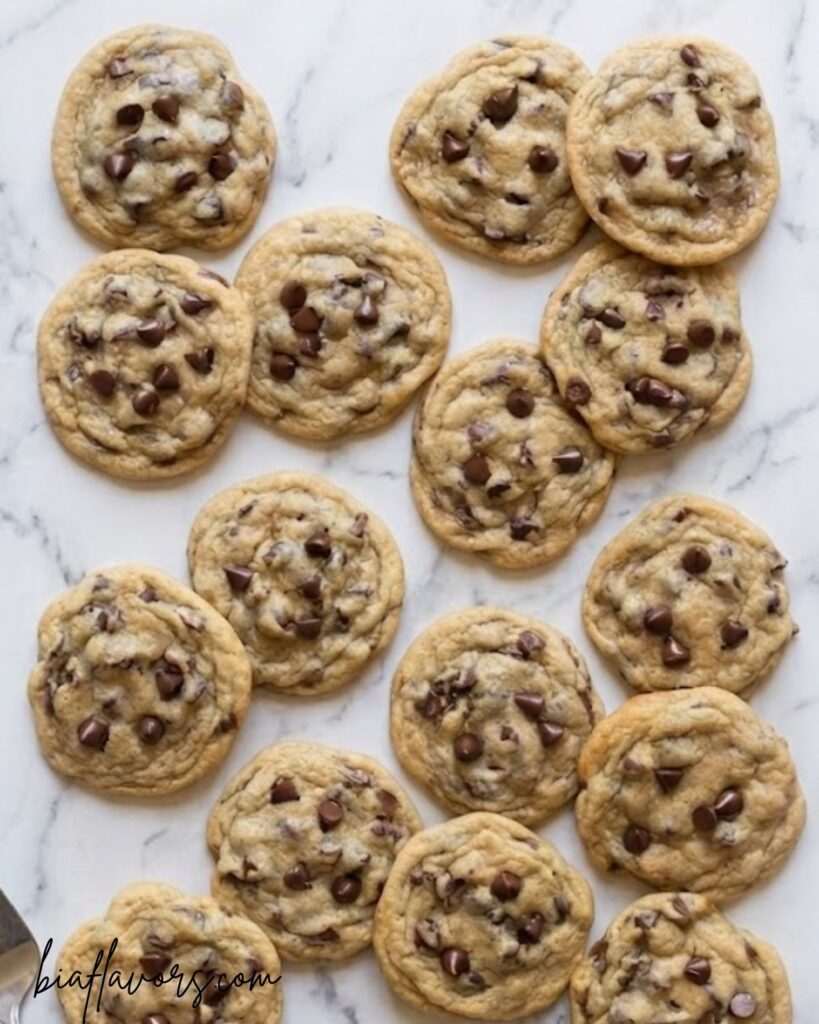
Bake the cookies for 12–14 minutes until the edges turn lightly golden, but the center still looks soft.
Step 10: Cool & Enjoy
Let the cookies rest on the baking tray for 5–10 minutes, then transfer them to a wire rack to cool completely. Enjoy them warm for that soft, melty chocolate experience.
Expert Tips for Perfect Chocolate Chip Cookies
Use High-Quality Chocolate
From my experience, the type of chocolate you use can completely change the taste of your cookies. Choose good-quality chocolate chips or chunks for a richer, more intense flavor. Chopped chocolate bars also create those beautiful melted pockets inside the cookies.
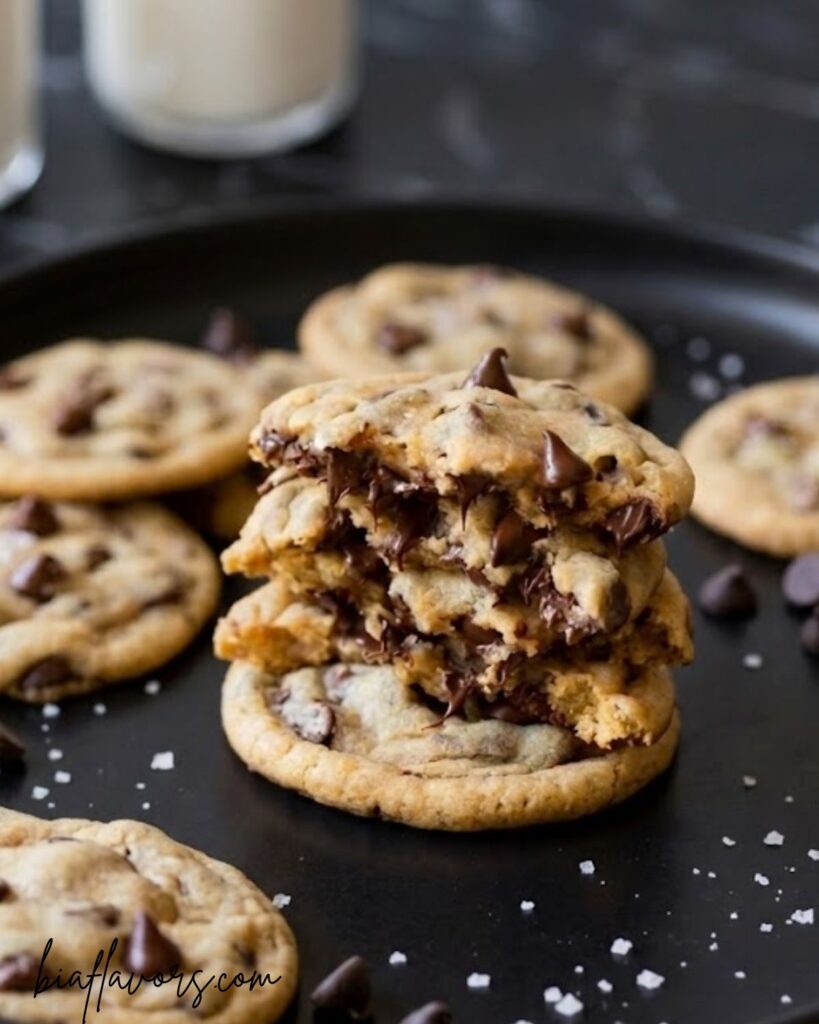
Don’t Skip the Salt on Top (Optional but Powerful)
A light sprinkle of flaky salt on warm cookies enhances the sweetness and balances the flavor. It gives a bakery-style finish that makes each bite more addictive.
Bake One Tray at a Time for Even Results
Baking multiple trays at once can lead to uneven baking. I personally prefer baking one tray at a time in the center rack to ensure consistent heat and perfect texture.
Slightly Underbake for Soft Cookies
If you love soft and chewy cookies, take them out of the oven when the centers still look slightly underdone. They will continue to set as they cool, giving you that perfect gooey texture.
Let Cookies Rest Before Eating
I know it’s tempting to eat them right away, but letting cookies rest for a few minutes helps them set properly and improves their texture and flavor.
Experiment with Add-Ins
Once you’re comfortable with the base recipe, try adding chopped nuts, white chocolate, or even a mix of chocolates. From my baking journey, small variations can make your cookies unique and more exciting.
Store Properly for Freshness
Keep cookies in an airtight container to maintain softness. If they start to harden, you can warm them for a few seconds in the microwave to bring back that fresh-baked softness.
FAQs About Chocolate Chip Cookies
1. Why did my chocolate chip cookies turn out flat?
Flat cookies usually happen when the butter is too warm or melted, or if the dough hasn’t been chilled. From my experience, slightly chilling the dough helps control spreading and gives thicker cookies.
2. How do I make my cookies soft and chewy?
To get soft and chewy cookies, make sure you don’t overbake them. Remove them from the oven when the centers still look slightly soft. Also, using a good balance of brown sugar helps keep moisture in the cookies.
3. Can I freeze chocolate chip cookie dough?
Yes, absolutely! You can freeze the dough balls and bake them later. Just store them in an airtight container. When ready to bake, you can bake them directly from frozen just add 1–2 extra minutes to the baking time.
4. Why are my cookies dry?
Dry cookies are often caused by adding too much flour or overbaking. Always measure your flour correctly and keep an eye on the baking time.
5. Can I make the dough ahead of time?
Yes! In fact, I recommend it. From my experience, chilling the dough for a few hours or even overnight improves the flavor and texture of the cookies.
6. What can I use instead of chocolate chips?
You can use chopped chocolate, white chocolate, or even mix-ins like nuts or dried fruits. This allows you to customize the cookies based on your taste.
7. How do I store chocolate chip cookies?
Store them in an airtight container at room temperature for up to 5 days. For longer storage, you can freeze baked cookies and reheat them when needed.
8. Can I make these cookies without eggs?
Yes, you can use egg substitutes like flaxseed mixture or yogurt. However, the texture may slightly change. Eggs help provide structure and softness.
Try More Chocolate Cookies Recipes
Final Thoughts
Chocolate chip cookies are one of those timeless treats that never go out of style. Whether you’re baking for your family, friends, or just treating yourself, this recipe delivers soft, chewy, and perfectly chocolatey cookies every single time.
From my experience, the key to amazing cookies lies in small details like not overmixing the dough, using quality chocolate, and giving the dough a little time to rest. These simple steps make a big difference in the final result.
I truly hope this recipe becomes a go-to in your kitchen, just like it is in mine. Once you bake these cookies, you’ll understand why homemade always tastes better.

Chocolate Chip Cookies
Ingredients
- 2½ cups all-purpose flour 300g
- ¾ teaspoon baking soda
- ¾ teaspoon salt
- 1 cup unsalted butter softened (227g)
- ¾ cup light brown sugar 165g
- ½ cup granulated sugar 100g
- 1 large egg
- 1 tablespoon vanilla extract
- 1½ cups semisweet chocolate chips 270g
Instructions
- Preheat oven to 350°F (175°C). Line baking sheets with parchment paper.
- Whisk together flour, baking soda, and salt in a bowl.
- In another bowl, beat butter and sugars until light and fluffy.
- Add egg and vanilla, mix well.
- Gradually add dry ingredients and mix until combined.
- Stir in chocolate chips.
- Scoop dough into equal-sized balls and place on baking sheet.
- Chill dough for 1 hour (optional but recommended).
- Bake for 12–14 minutes until edges are golden.
- Cool for a few minutes, then enjoy warm
Notes
- Measure ingredients correctly:
Always measure flour properly to avoid dry cookies. From my experience, even a little extra flour can change the texture. - Use room temperature ingredients:
Butter and egg should be at room temperature so they mix smoothly and create a soft, even dough. - Don’t overmix the dough:
Once the flour is added, mix just until combined. Overmixing can make the cookies dense instead of soft. - Chilling improves texture:
If you have time, chill the dough for at least 1 hour. This helps prevent spreading and enhances flavor. - Watch baking time carefully:
Cookies should look slightly underbaked in the center when you remove them. They will continue to cook as they cool. - Customize your cookies:
You can add nuts, white chocolate, or even dark chocolate for a unique twist. - Storage tips:
Store cookies in an airtight container at room temperature for up to 5 days, or freeze for longer storage.